VPS Security Checklist for Indie Hackers)
The moment you put a VPS on the internet, bots start knocking. Here is the no-drama checklist I run before I deploy anything real. My 30 min server hardening pass I apply to every server before I do anything else.
VPS Security Checklist for Indie Hackers
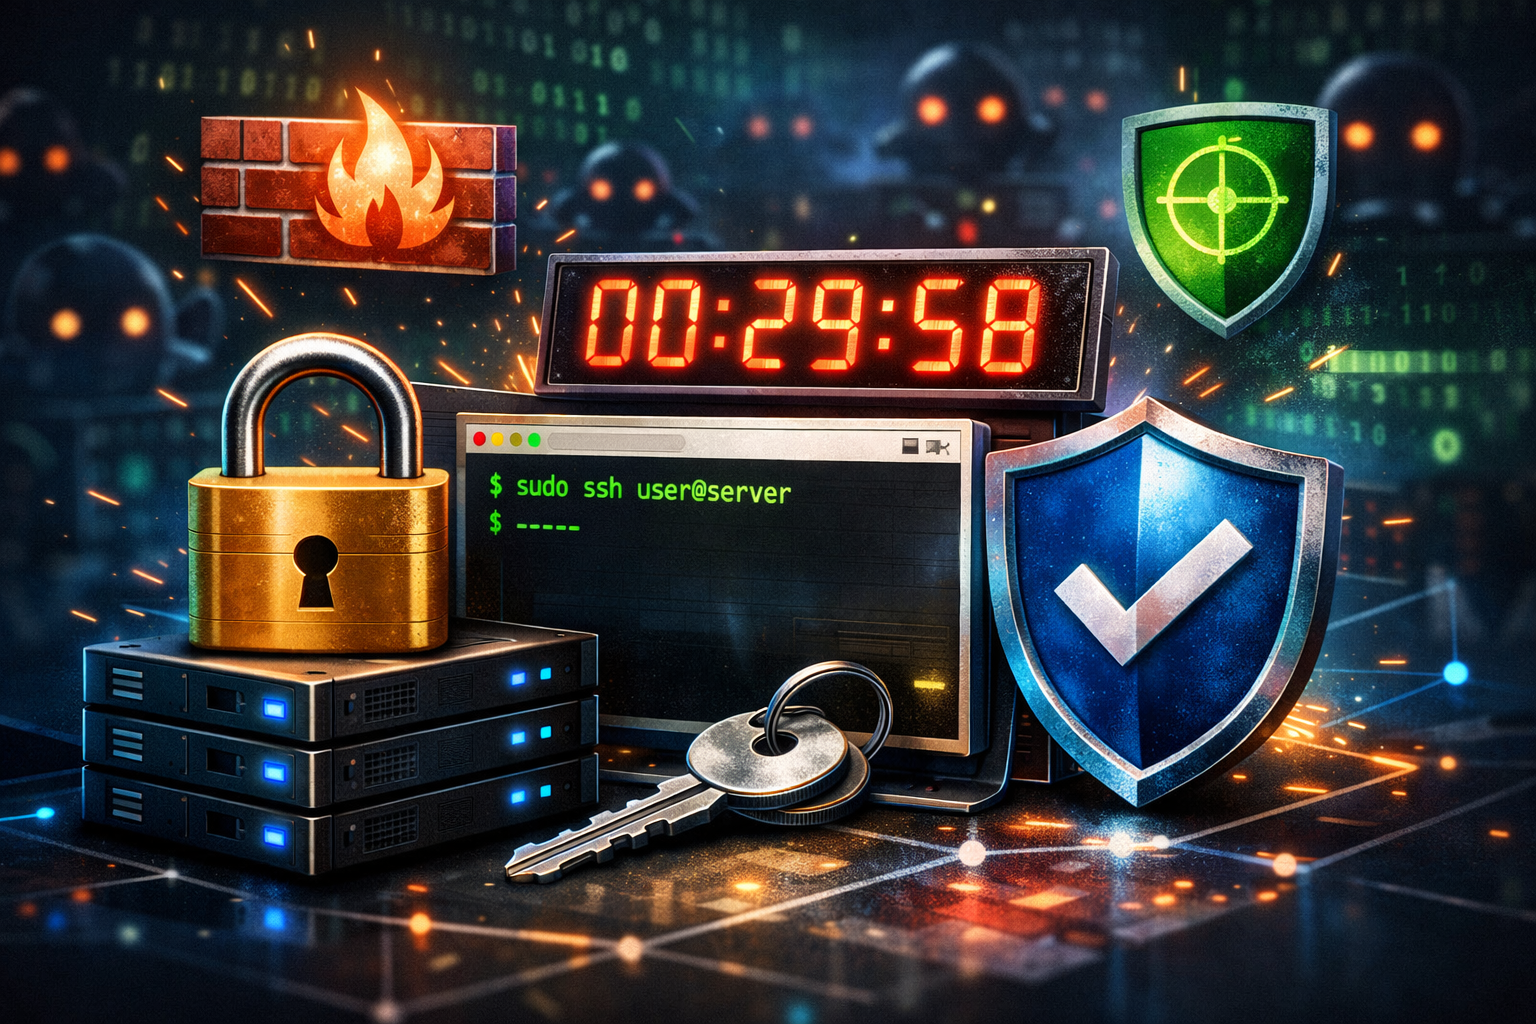
The moment you put a VPS on the internet, it starts getting scanned.
No DNS. No announcement. No traffic. Still scanned.
If you're using a VPS because it's fast and simple (same), here's the minimum hardening pass that keeps you out of the "I got owned overnight" category.
Sponsored plug: For quick VPS servers, Vultr is my go-to. Their shared CPU plans start at $5/month and can scale as you need to.
This is extra relevant with the self-hosting wave (OpenClaw and friends). If your box is holding API keys, tokens, and access to your stuff, treat it like a wallet.
Kubernetes Brain, VPS Reality
Kubernetes is great. We run a cluster. Containerized workflows are real power.
But a lot of people bounce off it because:
- There is a learning curve before you ship anything
- You have more moving parts than a single server needs
- You can spend a weekend wiring YAML instead of shipping the feature
A VPS is the fastest path to a real deployment. Done right, it is also surprisingly safe.
My default deploy pattern is simple:
- Run the app on
127.0.0.1(Node/Next/Vite/Express) - Put Nginx in front of it
- Only expose
80and443to the internet
The Goal
Not "perfect security." Just:
- No password logins
- No root access over SSH
- A firewall that blocks everything you didn't explicitly ask for
- Automatic security updates
- Enough visibility to know when something is wrong
I'm going to assume Ubuntu or Debian because that's what most of us ship on when we want to move fast.
Before you start, open two terminals:
- One connected to the server (your current session)
- One ready to test logging in as your new user
That way you do not lock yourself out mid-hardening.
1) Create a non-root user and lock down SSH
Create a user and give it sudo:
Copy your SSH key:
Then edit SSH config:
Set (or ensure) these values:
Restart SSH:
Now, in that second terminal, make sure you can actually log in:
If you do one thing, do this one.
2) Patch the box (and reboot if needed)
If the kernel updated, just reboot.
3) Turn on a firewall (default deny)
If you only need SSH + HTTPS:
If you also need HTTP (for Let's Encrypt challenges or redirects), allow 80/tcp too:
The rule is simple: only open the ports you can explain.
Optional: if you have a static IP, lock SSH down to just you.
4) Enable automatic security updates
This is boring, and it saves you.
5) Install fail2ban (cheap brute-force insurance)
SSH key-only auth already blocks most of this, but fail2ban reduces noise and cuts down on log spam.
If sshd is not listed in the status output, enable it:
Make sure this exists:
Then restart:
6) Don't expose what you don't mean to expose
This is where most "I got hacked" stories actually come from.
- Don't bind admin panels to
0.0.0.0 - Don't run databases on public ports
- Don't expose Redis/Elasticsearch "temporarily"
- Don't publish ports without thinking
If you need something internal, bind it to localhost:
Or put it behind a private network / VPN / Tailscale.
If you are self-hosting anything with an admin UI, keep it off the public internet unless you really know what you are doing.
7) Put your app behind Nginx (keep the Node port private)
This is the pattern that keeps VPS deployments simple and safe.
Run your app on localhost:
Then proxy through Nginx so only web ports are exposed:
If your app is reachable on http://YOUR_SERVER_IP:3000, that is a smell. Fix it.
If you run Docker
Docker is fine. Just keep the same rule:
- Only expose
80/443publicly - Reverse proxy everything else
- Keep secrets out of
docker-compose.yml(env files or a secret manager) - Don't mount the Docker socket into random containers
- Update images regularly
8) Add the minimum monitoring so you can sleep
At minimum:
- SSH login notifications (email/Slack)
- Disk usage alerts (servers die from full disks more often than attacks)
- A simple uptime check for your public endpoint
You don't need enterprise monitoring. You need a smoke alarm.
The Fast Checklist
If you want the TL;DR:
- SSH keys only, disable root + passwords
- Patch and reboot
- UFW default deny incoming, allow only what you need
- Unattended security updates
- fail2ban
- Never expose internal services to the internet
- Nginx in front, Node on localhost
- Add basic monitoring and alerts
Security Doesn't End
This checklist is the baseline. It helps you not get wrecked by the bots scanning the internet 24/7.
But production is not a one-time checklist. Always gauge what risk you have on the server. If you are storing personal data, holding API keys, or connecting tools that can act on your behalf, you need to monitor and keep improving your setup.
Quick external checks (run these on your own domain)
These are not a pentest. They are just fast ways to catch common misconfigurations:
- SSL/TLS configuration: Qualys SSL Labs SSL Server Test
- Security headers and CSP: HTTP Security Headers Analyzer
- Non-intrusive web security scan: ImmuniWeb Website Security Test
I will expand this into a deeper monitoring and scanning post later along with some custom tools I wrote that monitor my NextJS, Vite, and Supabase backed applications for common misconfigurations and leaks. For now, this is a good start for getting your app online without paying "one-click cloud" prices.
Written from home, fueled by "why is this port open" paranoia.
Enjoyed this post?
Get more build logs and random thoughts delivered to your inbox. No spam, just builds.